Thursday, February 9

disBigGive--Disney Park Bags

I had so much fun making these items for a family going on their daughter's Make A Wish trip. K is a two-time cancer survivor!! I designed a shirt to show that and her love of Disney. I found an iron-on on eBay that was the disney princesses dressed in gold! How perfect to represent childhood cancer awareness. On the back I put a large gold ribbon with mouse ears. I LOVE the way it turned out. 


Next was a bag for mom. We have been to Disney several times and I know how important a good bag is for the trip. Not too big, not too small. Just big enough to carry the necessities of theme park navigation.
I love the way this turned out with the red and black with white polka dots. And ruffles!!


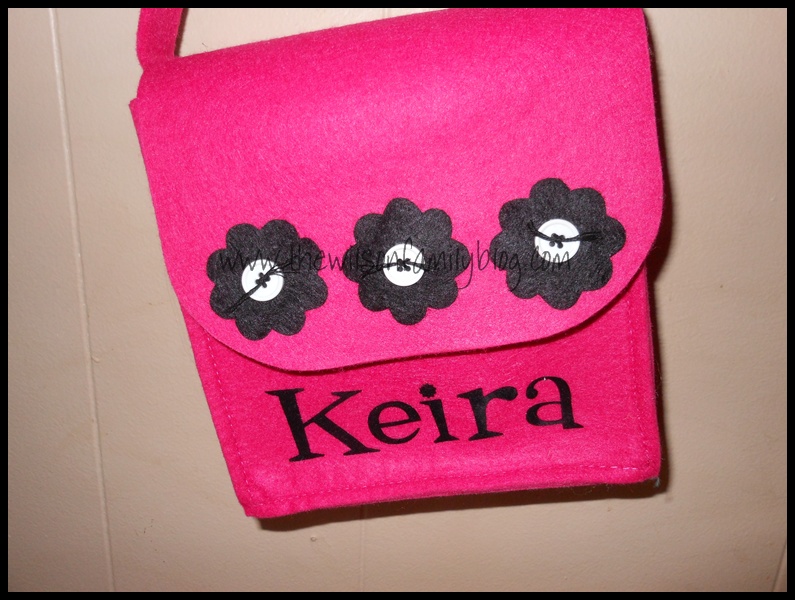
Last was a cute little bag for a sweet little girl that had beat cancer TWICE!! A perfect crossbody hot pink with black peace mouse ears design. I think she will love it!


Happy Disney Wishes!!

Credits:
Bag design and tutorial found here: Mommy by day...Crafter by night
Mouse Head Peace Sign template found here: etsykim
Hot Pink Felt Crossbody bag: Hobby Lobby
Letters: Iron on set from Hobby Lobby
Hand cut black felt flowers, white buttons and thread


Tuesday, January 17

LEGO heart necklace--Pinterest inspired

Trace is a LEGO addict!! 


He loves all things LEGO including sets such as Harry Potter and Star Wars and the Wii games such as LEGO Indiana Jones.


So when I came across this pin on Pinterest...

which leads you to an etsy shop: MoL Gifts


I just knew they would be perfect for Trace to give his sisters for Christmas. 

Being the crafty person that I am and knowing there were hundreds thousands of LEGO pieces in Trace's bedroom and the fact that I had lots of jewelry scraps, we decided to try and make them.

After several hours of digging through rubbermaid tubs of LEGOs, no red square pieces with the holes like those in the above pic were found. Next stop...eBay. :)

I ordered the ones I needed and with Trace's supervision we quickly assembled about 5 necklaces.

Materials: 
--2 Square Lego Pieces with rounded edge and holes (*sorry, I don't know the proper LEGO term)
--silver chain
--jump rings

Step 1: measure the length of chain you prefer.
Step 2: attach jump rings to each end of chain and to holes on LEGO pieces
Step 3: connect jump rings on ends of chain to jump rings on LEGO pieces

Note: I didn't put a connecter on the chain as the LEGO pieces come apart and we used that as the connectors to put on the necklace.

 Quick and easy!!


And they loved them. :)