I signed up for another disBigGive in which I make something special for a Make A Wish kid and their family to take with them on their wish trip to Walt Disney World. The wish kiddo LOVES Star Wars so I wanted to make a special mini bag for him to carry the normal theme park necessities for the days at the park.
Materials:
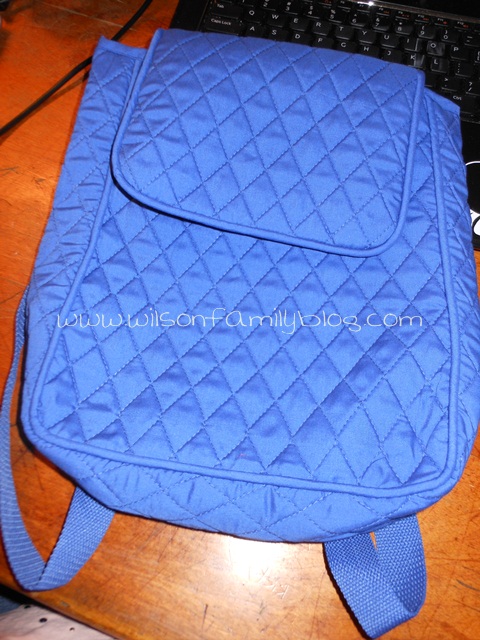
--small blue quilted mini backpack found at Hobby Lobby $5.99
--google images of mickey head and R2D2 (I did find an image of a R2D2 Mickey Ears sold in the parks that I used for parts placement)
--google image of Star Wars logo
--HeatBond ultrahold no sew
--felt pieces in black, white, light blue, grey, red, yellow
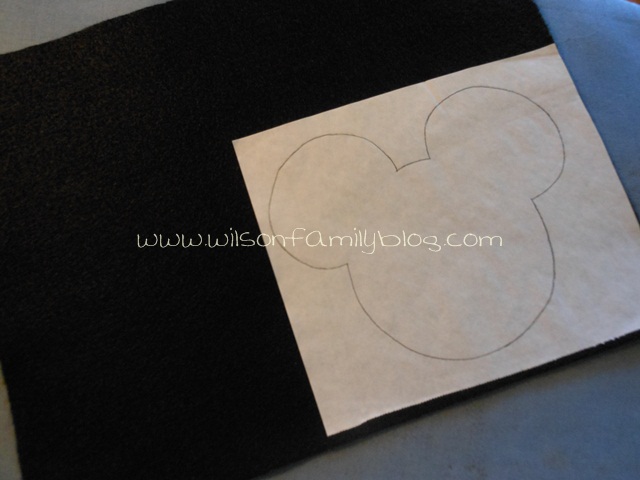
--freezer paper for appliques
Using the google images of a mickey head I printed, I traced out the applique pieces onto freezer paper--the mickey head and the Star Wars Logo. I hand drew out the grey area for R2D2 and all the mechanical R2 pieces using a google image as inspiration. I am using the freezer paper applique tutorial found at Little Birdie Secrets.
Iron on the freezer paper appliques to your felt pieces--using google image as inspiration for colors and placements. Make sure you check your iron settings so you don't melt the felt.
Once your freezer paper pieces are ironed onto your felt, then iron on the HeatnBond to the back of felt. Once again--check iron settings.
Cut out all your felt pieces--the mickey head, grey R2 body, all the small blue buttons and such, Star Wars logo.
Do a dry run of the placement of the mechanical parts of R2--figuring out how you want to place them.
The start peeling off the freezer paper and cover sheet of the heatnbond. Iron 1 piece at a time--**check iron settings--felt will melt**
Once the R2 body piece is finished, iron it onto the mickey head and iron on to bag.
Do the same steps as above for the Star Wars Logo. Once I cut out the yellow piece I ironed it onto a black piece, added some heatnbond to back of black piece and cut around the yellow leaving a small amount of black to outline. I then attached it to the bag. Placement on the bag is up to you. I put the Mickey Head R2D2 on the flap and the Star Wars logo on the body.
When ironing on the final pieces--make sure to have something very firm underneath--I used a book and iron very good around the edges.
Hope you liked this tutorial!! Have fun making one for your StarWars/Disney fan. :)